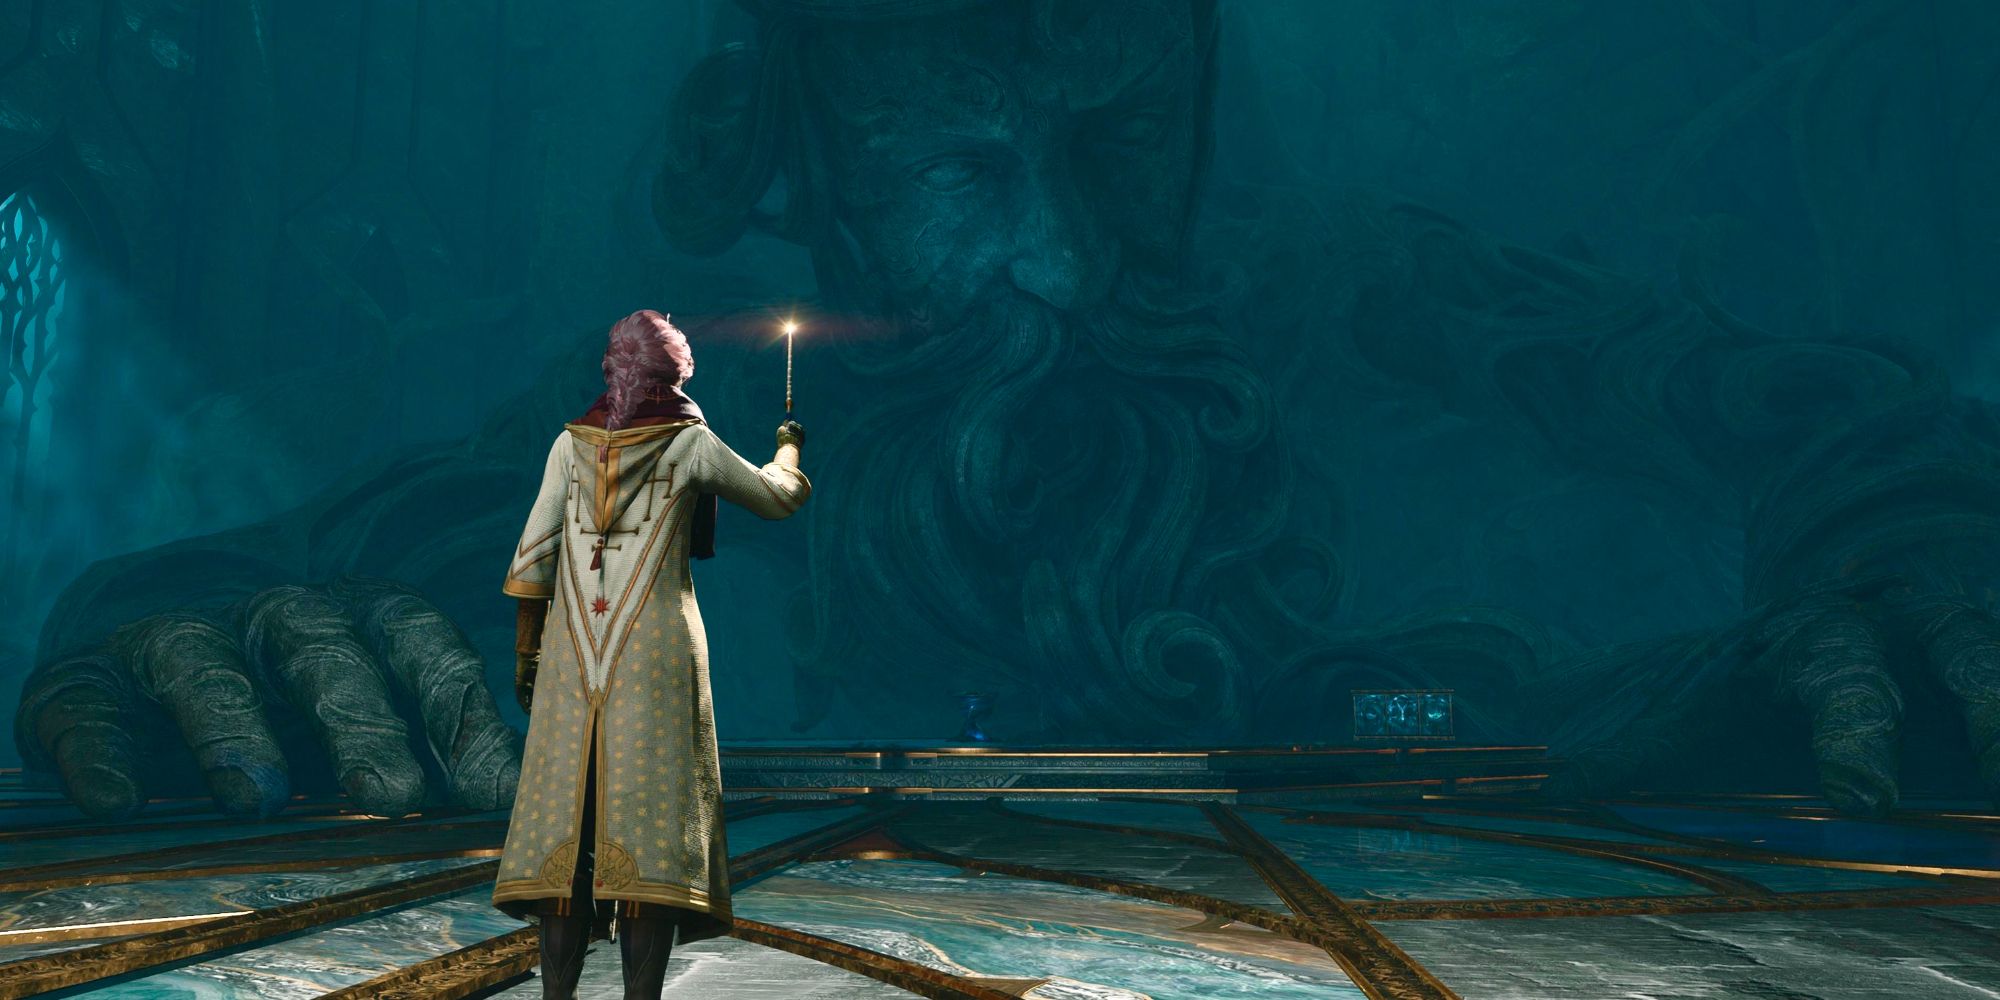
After journeying into the depths of the Restricted Section of the Library, you’ll discover a book written by the Keepers of ancient magic. Before you even get a chance to read it, you’re thrown into a dangerous quest that has you chasing down the remains of a beheaded thief named Jackdaw.
In Jackdaw’s Tomb, you’ll battle waves of giant spiders and fearsome Sentry enemies until you finally discover the legendary Map Chamber. In this chamber, you’ll get to meet the portrait of Percival Rackham, the leader of the Keepers. But before he will trust you with the secrets of ancient magic, you’ll need to complete four trials. This guide will walk you through how to complete the first of them, Percival Rackham’s trial.
Starting The Trial
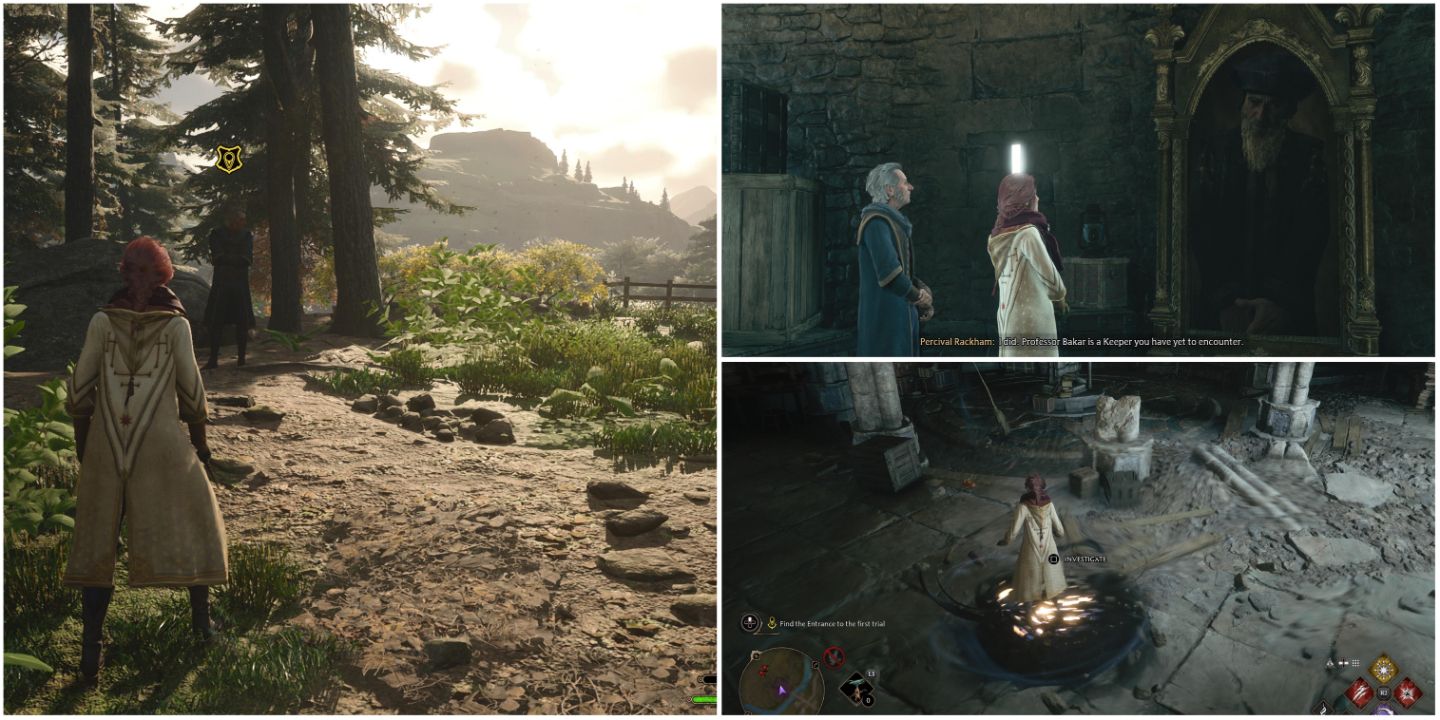
After getting some instructions from Percival, you’ll need to meet Professor Fig in the northernmost region of the World Map, North Ford Bog. Here you’ll take down a handful of goblins before making your way to the top of the tower.
At the top, you’ll meet another portrait of Percival, and he’ll explain that you alone can do this trial. Make your way back down to the bottom of the tower, and follow the ancient magic trail to open the portal to the trial.
Part One
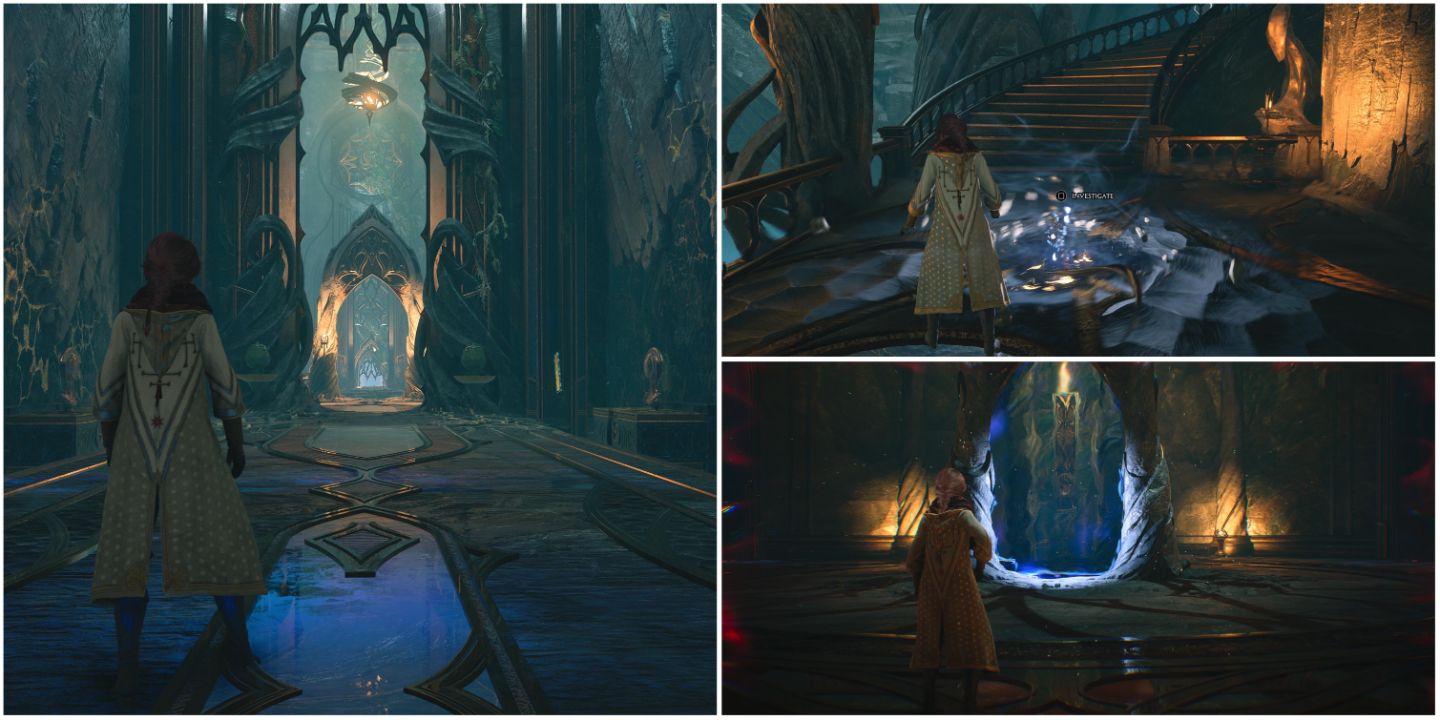
After heading through the portal door, make your way downstairs and through the door at the bottom to begin the trial. Go down the long hallway and the steps at the end of it to find the next ancient magic spot. Activate the ancient magic to open another portal, and then make your way back up the stairs. Head through the portal and across the bridge on the other side.
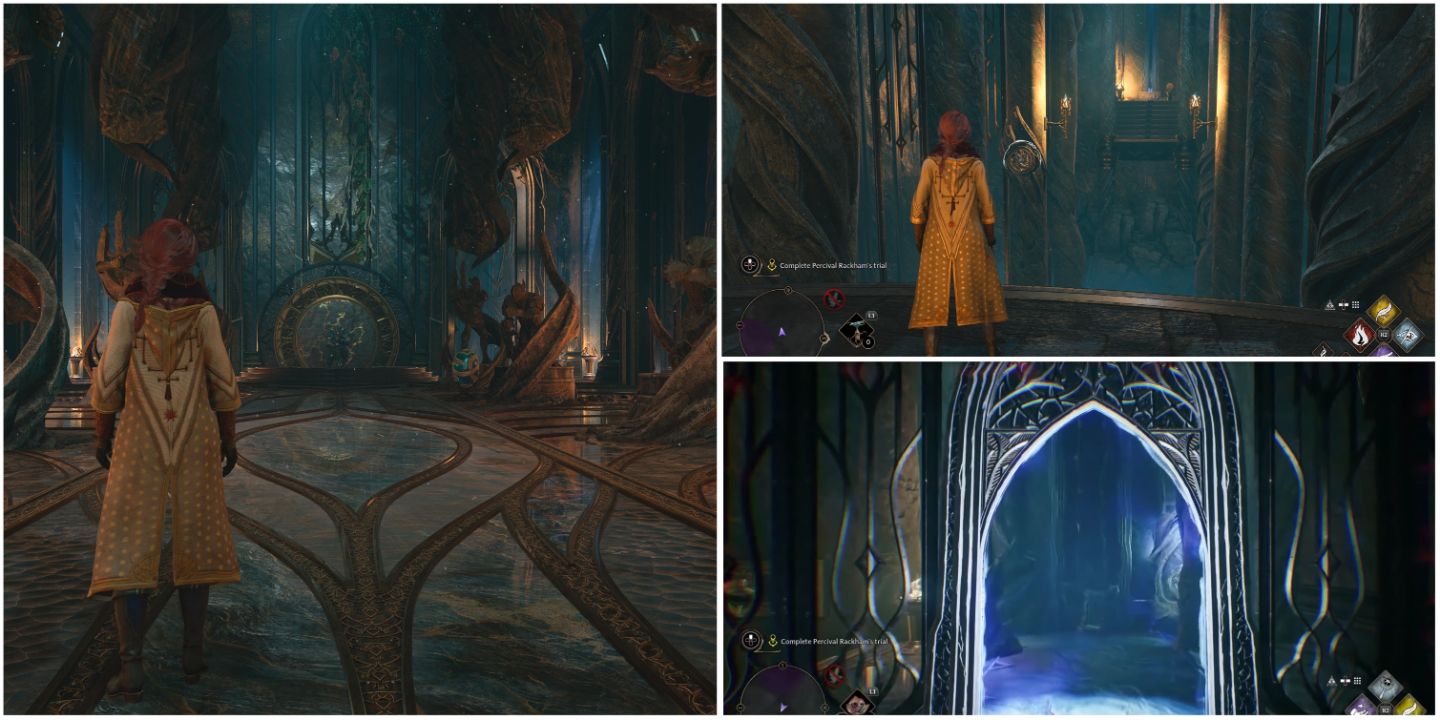
After crossing the bridge, and another that moves in waves, you’ll end up in a room with an inactive gateway. Go to the far side of the room where the ancient magic stirs, activate the portal, and head through it.
Part Two
Once on the other side of the portal, you’ll immediately face three Sentinels. After taking them out, you’ll make your way across the room. To your right, you’ll find a room with a treasure chest on the other side. Head into this room first. Initially, there is a large gap preventing you from reaching the treasure chest. Using your basic cast spell, you’ll need to hit the sigil on the wall to summon the bridge. Head across, grab the treasure and make your way back into the main room where you fought the Sentinels.
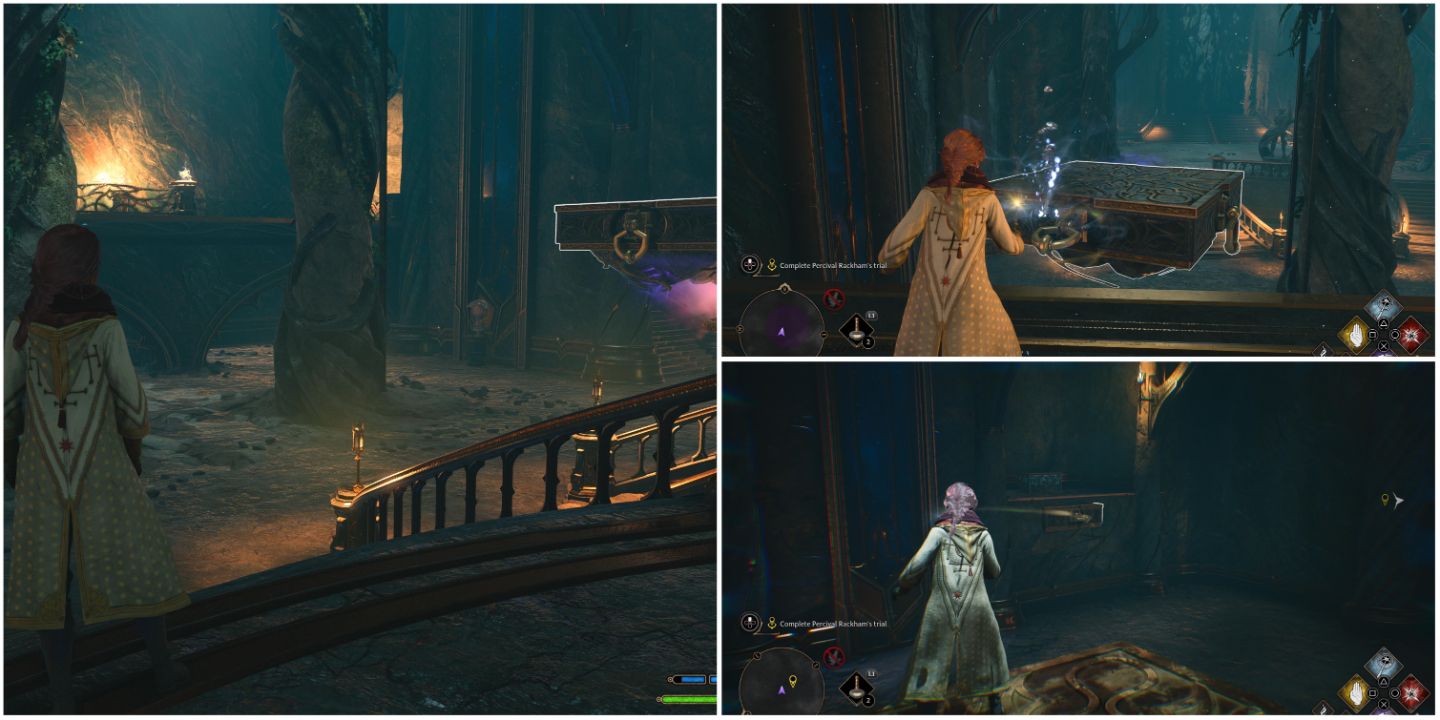
Next, head to the floating platform puzzle. Using Accio to pull the platform to you and hop on top of it. Once on top, you’ll cast Accio again toward the wall anchors to pull yourself and the platform around the room. First head to the right side and activate the ancient magic portal. First, you’ll want to head through the portal and grab the chest on the other side. Since this room is a dead end, head back through the portal. Now you’ll need to hop back on the platform and pull your way around the portal on its left side, jump over the now open space, and head into the next room.
Part Three
After defeating the Sentinels in the next room, you’ll make your way toward another floating platform puzzle. This time, ignore the platform at first and instead head up the large staircase to the right of it. Once you are on the walkway above, pull the platform to you so that it aligns with where the ancient magic is stirring in the air. Hop on the platform and activate the next portal.
Moving in and out of the portal will completely change this room. Your goal is to get the floating platform to the other side of the room. First, hop down from where you activated the ancient magic, and head through the portal. Once on the other side, the room will open up and new wall anchors will appear. Run up the large staircase again, hop on the platform, and then pull yourself across the room towards the chest on the ledge above.
Once you have the chest, hop down from there and head back through the portal from the other direction. Once again, climb the stairs to the top floor, pull the platform to you, and then use the newest anchor to pull yourself to the end of this room.
Part Four
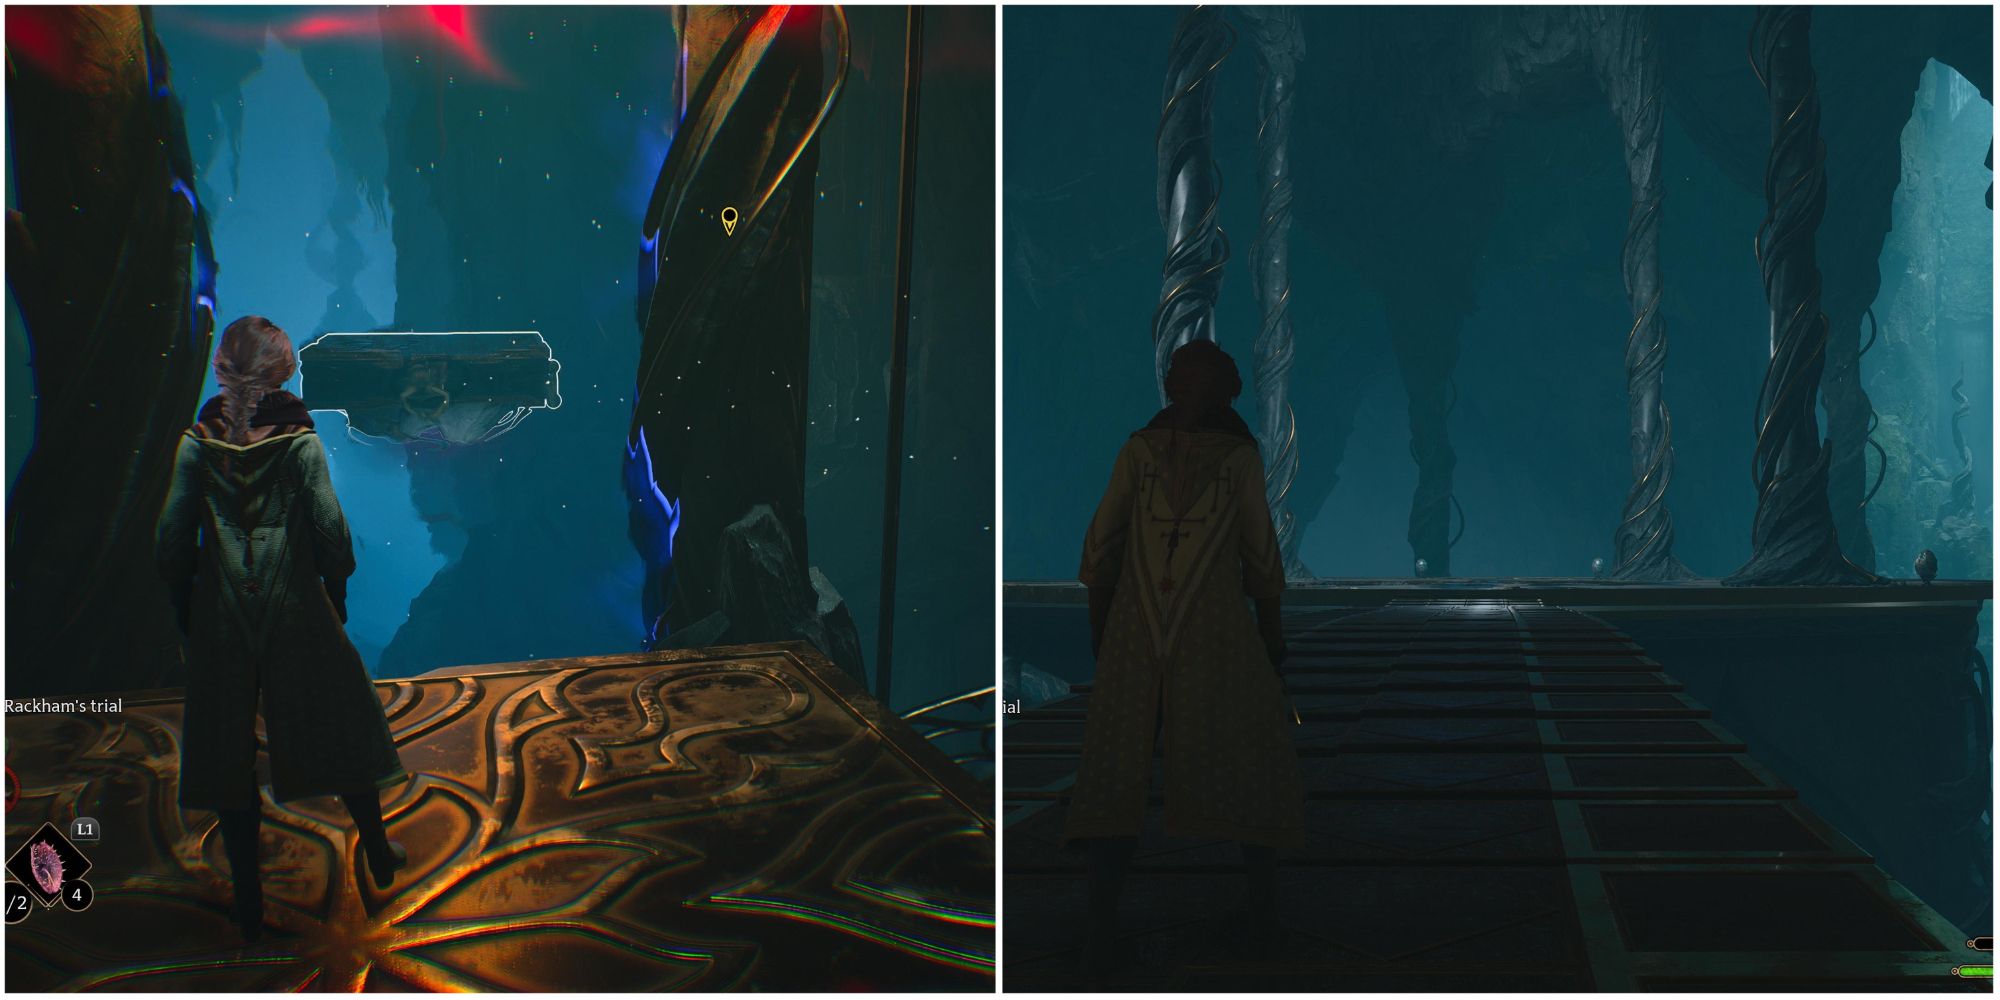
This time, you’ll have to fight three Sentries and a handful of Inferius enemies. This battle is significantly more challenging than the prior ones, so be prepared before heading into it. After defeating the enemies, you’re in for yet another floating platform puzzle. After activating the portal, hop on the platform and use Accio to position yourself in front of the portal. On the other side, you’ll see another platform floating above the void below.
Cast Accio at the second platform until it is as close as possible. Hop through the portal to the other platform. Use the wall anchors on the other side to get you to the next area. As you approach the next area, you’ll see a long bridge with a huge circular platform on the other end. Before you approach the platform, make sure you are prepared for a long and challenging fight.
Pensieve Guardian Battle
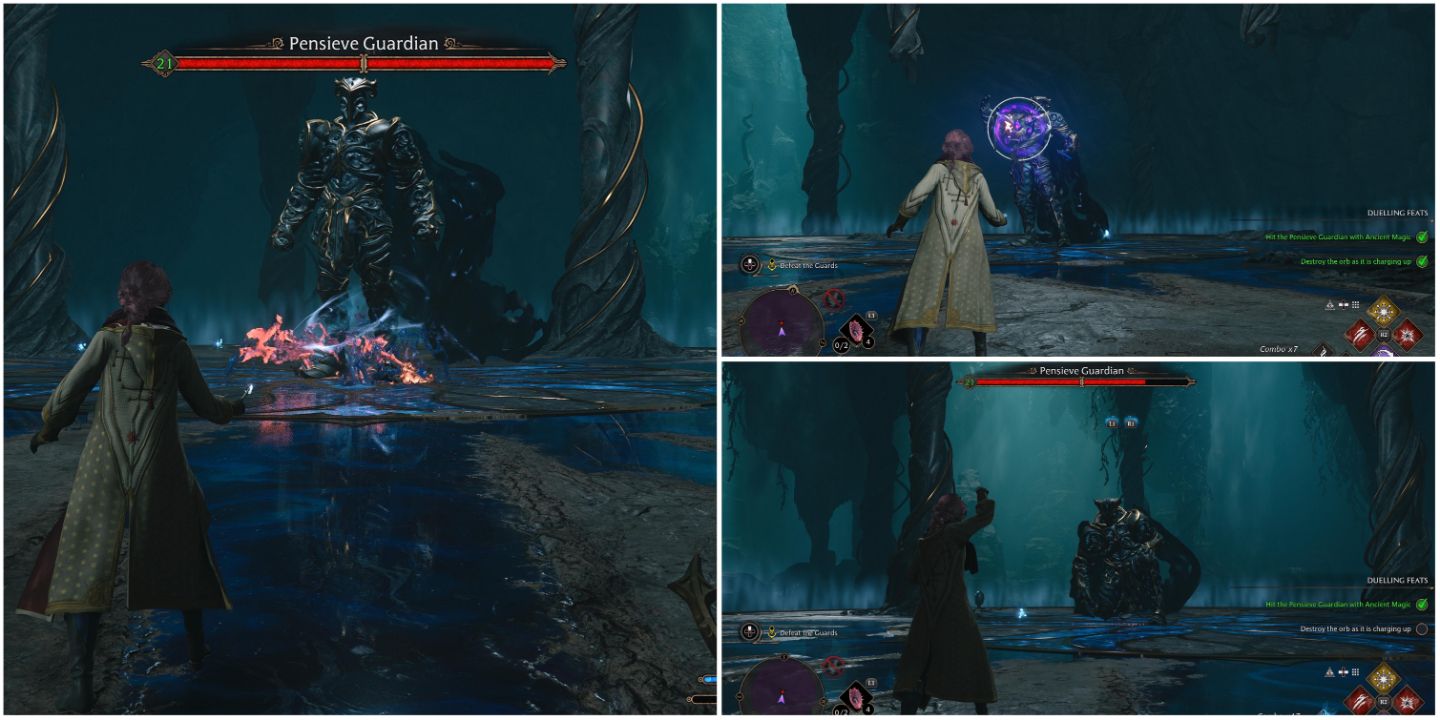
At the beginning of the battle, you’ll face off against three Sentinels and a handful of Inferius enemies like you did before. Upon defeating them, the Pensieve Guardian boss will make a dramatic entrance. To defeat the boss, you’ll need to pay attention to his magic attacks and respond with the right spell. When he summons a magic orb, it will be yellow, red, or purple. To break the orb, attack it with a spell of the same color, just like you do when you break enemy shields. Doing so will cause a burst of damage and occasionally stun the Guardian.
In between these magic attacks, unleash your most powerful spells and focus on dodging the boss’s physical attacks. Be sure to use ancient magic often as you will be able to recharge it frequently. After defeating the boss, you’ll make your way back to the Map Chamber where you’ll complete the quest.

